The Tasks page is the main page of the app. This is where you add, edit or complete all available tasks.

1. Tap the Add icon at the upper right corner of the page.

2. Fill in all necessary details. Once done, tap Save.

3. Take note that the Email and Phone here require client info.

Yes, we can add an attachment on a task.
1. On a task entry, scroll down to the bottom and tap Add Attachment.

2. There are 4 kinds of attachment that we can choose from:

2a. Take photo, take a photo of an image attachment.

2b. Attach file, for any types of file attachment that is saved on your phone.

2c. Link, will allow user to attach a link.

2d. Checklist, allow user to add a checklist.

3. To edit an attachment tap the edit icon.

4. To delete an attachment tap the trash icon.
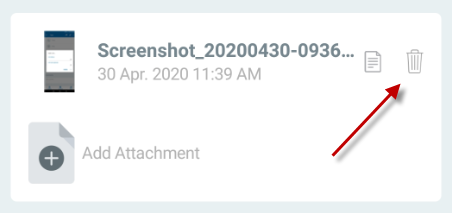
Note: We can attach multiple attachments.
On the Tasks page.
1. Select an entry to forward. Swipe the entry to the right, then tap the Forward icon.

2. Select a Team Member or to a new person.

3. Selecting a Team Member will proceed to a pop up box to select a member.

4. Selecting to a New Person will lead to Forward To page.
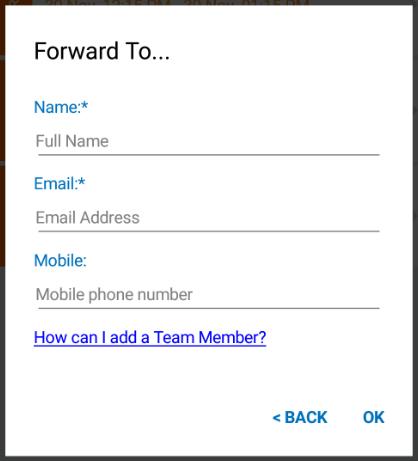
5. A forward confirmation pop up box will appear and press OK.

6. The Task is then sent to the chosen user (Team Member) for acceptance. When accepted, their name will appear next to the Task.
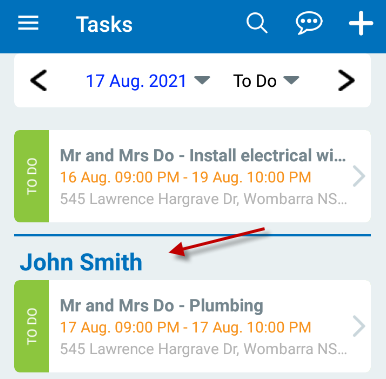
There are 2 ways how to complete a task. First method is via Tasks main page.
1. Swipe the entry to the left and tap the icon Completed.

2. The grey box needs to be signed by a client, worker or their supervisor. You can also choose to Send Invoice once you tap OK.

3. If you choose to Send Invoice, the app will direct you to the New
Invoice page. Fill in all necessary details then proceed to Preview the
invoice. Then, press Send.

Second method is via task entry.
1. Select a task entry to be completed.
2. At the bottom of the entry, tap Completed icon.

3. Just like the first method, the grey box needs to be signed by a client, worker or their supervisor. You can also choose to Send Invoice once you tap OK.

1. Select the date when it is completed.

2. Tap the dropdown To Do and select Complete.

3. Completed records will now show.

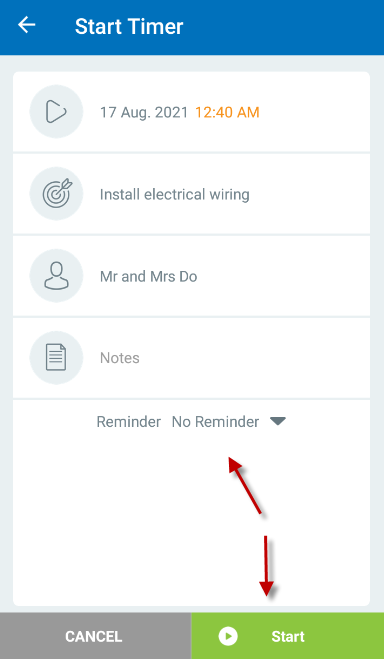
1. At the bottom of Task Details page.

2. Then complete Notes and set reminder (optional).
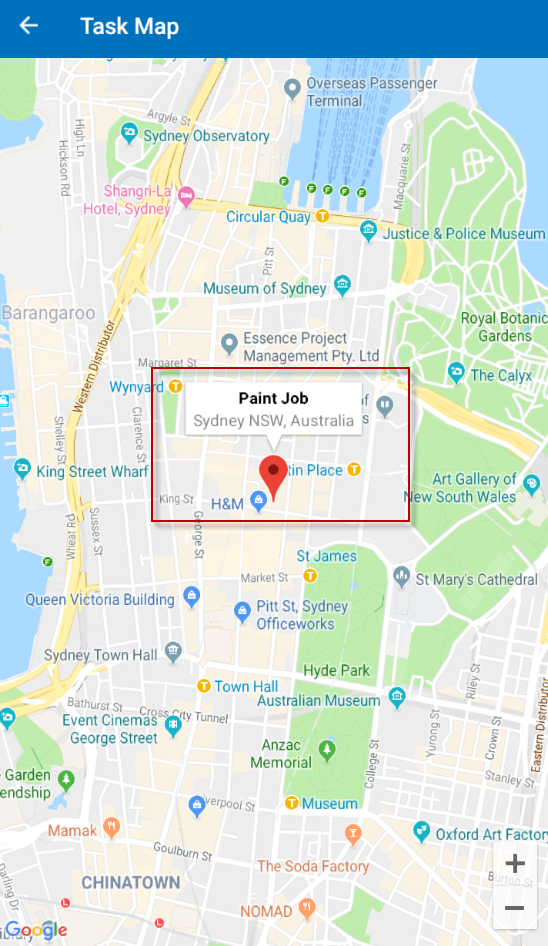
1. You can locate a tasks’ location by tapping the address on Task Detail page.

2. The app will direct you to the Task Map showing the address pinned on the map.
Yes, there are two ways to contact your client from OnTask, via email and phone.
Via Email
1. On the Task detail page, tap Email.

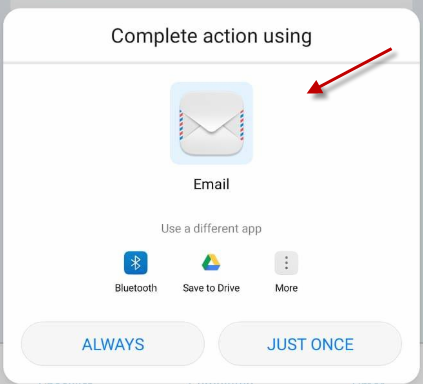
2. Your phone’s email system will pop-up. Depending on your phone, you may need to select which app you will use for email.
Note: Make sure you are connected to the Internet.
Via Phone Call.
1. On the Task detail page, tap the Client’s Phone number.

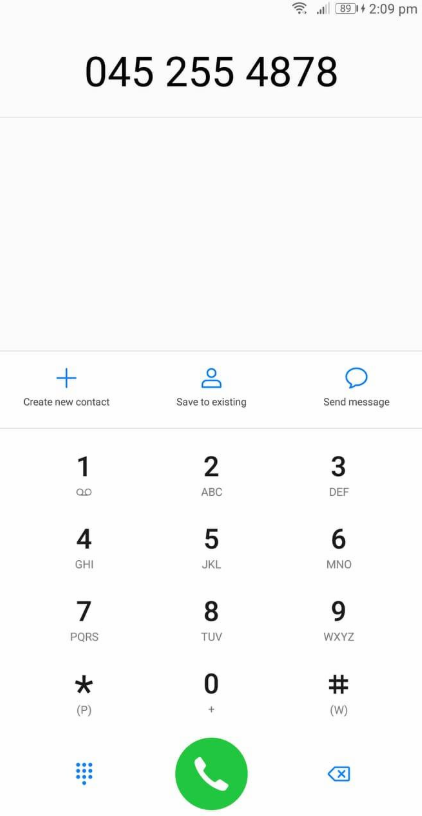
2. Your phone’s dial pad will appear. Tap the call icon.
Note: Make sure your phone has network coverage.