Checklists are a great way to ensure that your jobs get done right. You can create a custom checklist or use OnTask checklist templates.
There are 2 ways to add a checklist, first method is via the icon at the bottom of the Task Details page.
1. Simply select a Task, and tap the Checklist icon at the bottom of the Task page.
![]()
2. You can then select from a template or create a new checklist. Either
way you need to name the Checklist. You can also tick the ‘Requires Sign Off’ checkbox if you need to verify the task is 100% complete.

3. If you select a Checklist Template, the checklist will contain checklist items.

4. If you create a New Checklist, it’ll redirect you to the Checklist page and add checklist items manually. Type in the checklist item title and tap the check icon.

5. To complete the checklist item details, tap the checklist item entry.
6. On the Checklist Item page, tap the pen icon to edit the details.

7. Once done with the details, tap the check icon to save.

2nd method is via Add Attachment on the Task Details page.

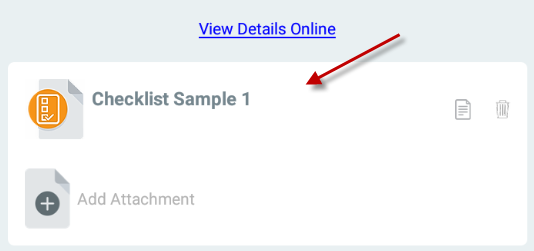
Once tapped, it will go to the Add Attachment pop-up box where we can select Checklist. Process is the same after tapping the checklist.

There may be times when you need to add more than one checklist on a task. With OnTask, you can add multiple checklists.
Process is the same when adding a new checklist. We can either tap the icon at the bottom of Task Details page, or via Add Attachment. See How to add a checklist to a task?
1. On the Task Detail page, scroll down to the attachments part and tap a checklist.

2. Tap the plus icon.

3. Type in the Checklist Item’s details and tap the check icon to save.

Yes, we can add an attachment on a checklist item.
1. On a checklist item page, tap Add Attachment.

2. There are 3 kinds of attachment that we can choose from.

2a. Take photo, take a photo of an image attachment.

2b. Attach file for any types of file attachment that is saved on your phone.

2c. Link will allow the user to attach a link.

3. To edit an attachment, tap the edit icon.

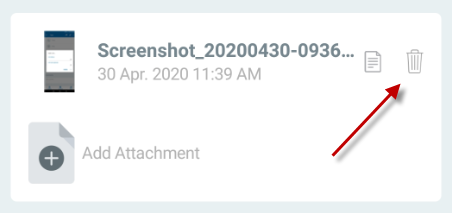
4. To delete an attachment, tap the trash icon.

Note: We can attach multiple attachments.
When you complete a checklist item,
1. Simply tap the item until a green tick appears.

2. If all checklist item are complete and the Checklist requires a sign off. The Checklist Complete page will appear. The grey signature box can be signed by the client, worker, or their supervisor.
3. When signed, click OK.

1. You can edit or delete a checklist by clicking an icon against a checklist entry.

2. Tap the document icon to edit a checklist. We can rename and tick the Requires Sign-Off on and off.

3. To delete, tap the trash can icon.

User can sort checklist clicking the sort icon. It can be sorted out via status or alphabetically.
